

How To Install Gradients In Photoshop
How to master gradients in Photoshop
Gradients are i of the almost powerful tools in Photoshop (opens in new tab). You tin can use them to create backgrounds; absurd looking buttons stylized text and to add special effects to your scenes.
In that location are five major types of gradients: Linear, Radial, Angle, Reflected and Diamond. In addition you can vary the colours within the gradient, the opacity and make use of 28 modes which include: Diffusion, Multiply, Screen, Color Burn, etc.
And if that wasn't enough, you can combine gradients with layer effects, masking, textures and more - the options are endless. (Note, still, that you lot cannot utilize gradients with bitmaps.)
How to create a gradient
Creating a slope is a snap. If this is your first time using the Slope tool, create a new layer (Shift+Ctrl+Northward) and fill up information technology with white (RGB: 255,255,255).
Next, select the office of the layer you desire to fill up. If you omit this step the gradient will make full the entire layer. To actuate the Slope tool, click on it or press One thousand on your keyboard.
In the Options toolbar, directly under the carte names, click on the triangle adjacent to the broad slope (as below)

This opens the Slope Samples expanse. Click on one to select it.
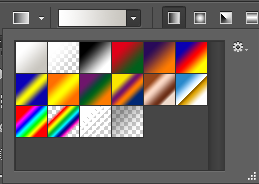
Note how the gradient chosen appears in the wide gradient sample.
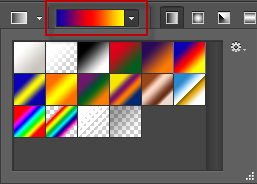
Equally this point y'all can use the slope to make full the layer or, if you want to edit the gradient, click on the wide slope sample to open up the Slope Editor.

For the moment we're going to fill the layer with the gradient as is and draw samples of the other gradient types, so render to the editor and go through the procedure of editing a gradient.

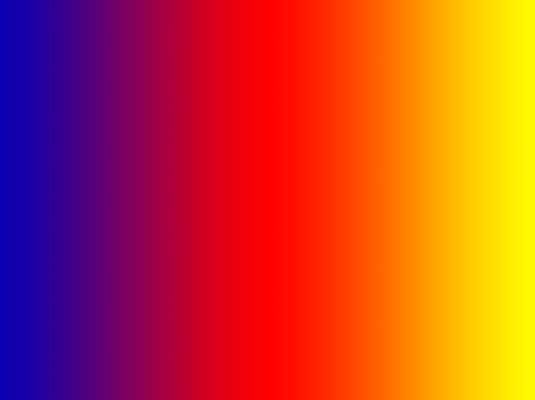
Annotation that in the options toolbar, the Linear Gradient fill is selected. In the toolbar your options are: Linear, Radial, Angle, Reflected and Diamond, respectively.
Fill up the layer
Now we'll make full that layer. Where you place your mouse cursor and where y'all let get of it will determine the appearance of the gradient. In this gradient, I drew the line from the center of the left edge all the way to the correct edge before letting go of the mouse button, creating this shine gradient.
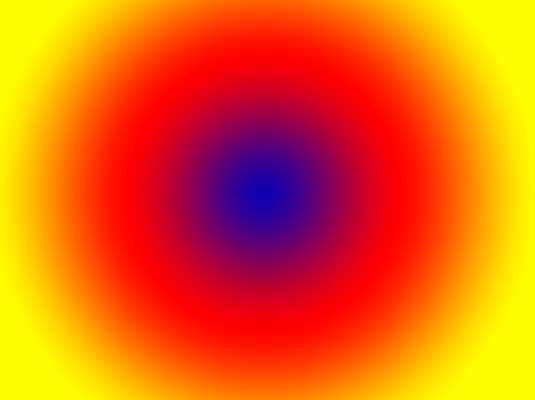
At present, we'll create a Radial Gradient but drawing out from the heart to the edge. The Radial Gradient is bang-up for sunset effects.
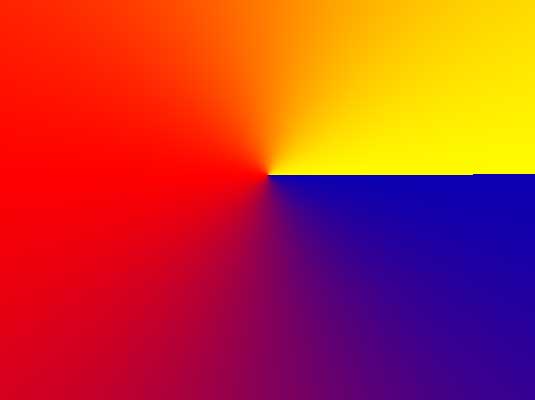
The next one is an Angle Gradient which sweeps around the starting point, which volition be fatigued from the eye to the right side.
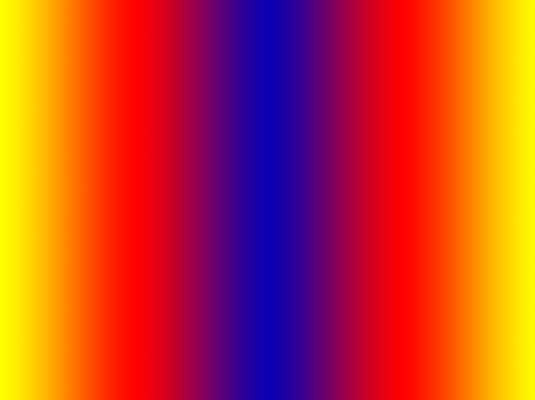
Adjacent is the Reflected Slope which mirrors the slope drawn. The starting point is the heart and drawn to the right edge.
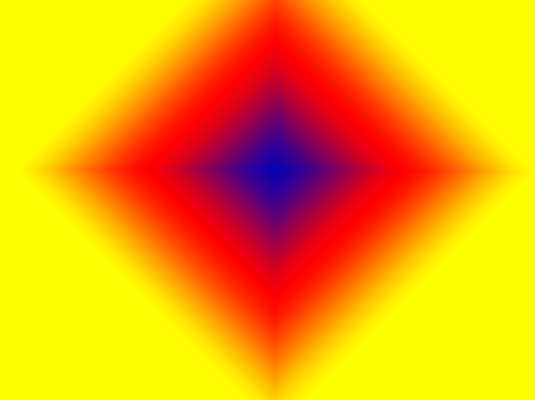
The last one is the Diamond Gradient, drawn from the centre to the right edge.
As you lot tin can imagine, you'll get different results depending on where y'all begin the gradient. Your results will likewise vary considerably with the different blending modes, transparency, working with other layers, etc.
The Gradient Editor
One of the wonderful things about gradients is you're non limited to the presets. You can alter them or brand your own.
To use the Slope Editor, click on the broad gradient in the Options toolbar. This opens the Slope Editor with the gradient we've selected. At this point you can edit the electric current gradient, select another one of the presets or create your own. We'll work with the existing slope.
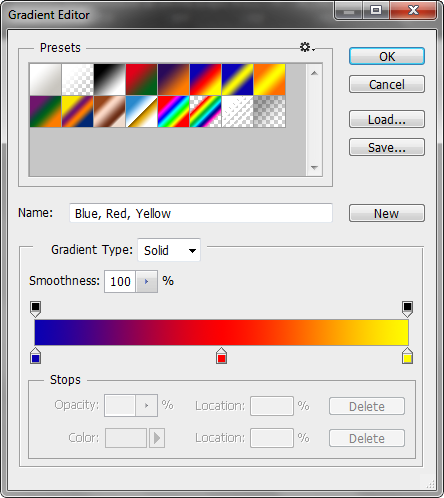
Looking at the Gradient dialog, here are some of the options. At the top you can select any gradient to edit or use in project. In the middle, you accept the choice of a solid gradient which is what is nowadays correct at present or a racket slope.
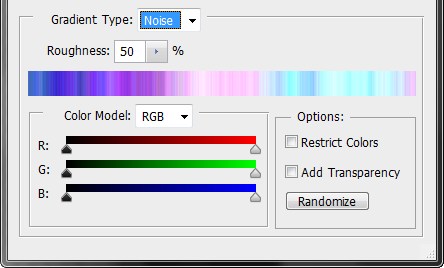
As you can encounter, the Noise Gradient offers a unlike gear up of controls for RGB, transparency, restricting colours, three different types of color model: RGB, HSB and LAB. You lot can change the roughness and randomize the colours, also.
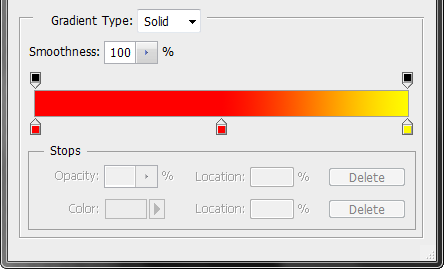
For the purposes of this article we will edit an existing solid gradient and get out the Smoothness at 100%.
When you click on any of the colour stops underneath the slope, the triangle above turns black, letting y'all know information technology is going to be edited. You lot will note that the colour swatch at the bottom becomes active, forth with the location, which is at zero.
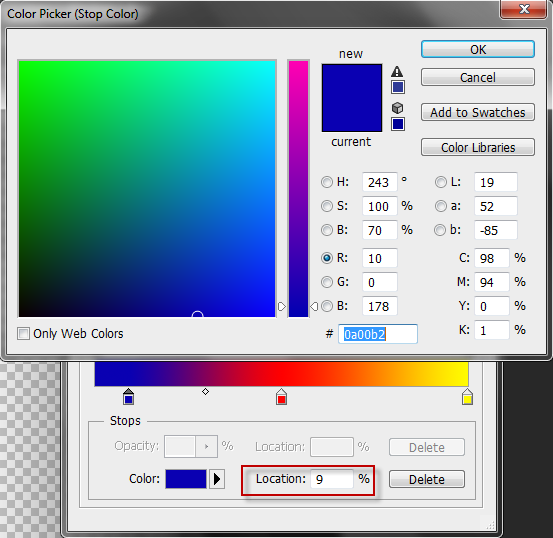
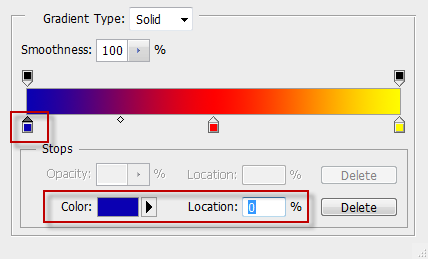
If you move the colour terminate to the right, the location number changes. If you click on the color swatch (blue) this brings upward the Color Picker (Stop Color) and you can change the colour.
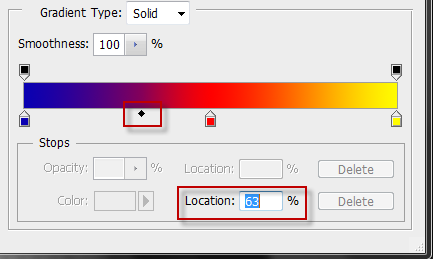
The small diamond is the midpoint between the ii stops and creates an even mix of the colours. Y'all can drag it left or correct to alter that or type in a numeric value for a new position.
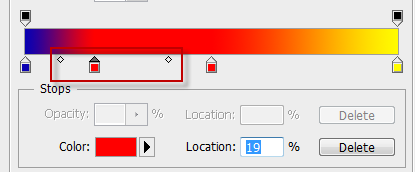
To add together a new colour end, simply identify your cursor at that location and click the left mouse button. A colour stop is added, forth with the diamond midpoints and the colour information appears at the bottom of the dialog box.
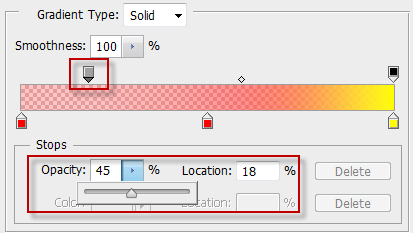
To control the opacity of the gradient, click on either one of the blackness stops above the gradient. This brings upward the Opacity information and the Location.
Here, the Opacity has been set to 45% and the cease has been dragged to Location 18%. You tin also run into how the transparency affects the gradient. You can dispense this further with more color stops and the midpoints.
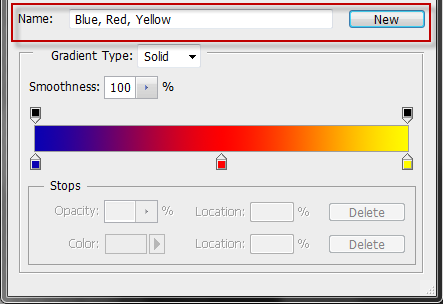
In one case yous're satisfied with your changes, go to the Name section, enter in the new name and click on the 'New' push. This will save your new preset to the existing gradients list.
Words: Nathan Segal
Related manufactures

How To Install Gradients In Photoshop,
Source: https://www.creativebloq.com/computer-arts/how-master-gradients-photoshop-51411514
Posted by: fostertionvits38.blogspot.com
0 Response to "How To Install Gradients In Photoshop"
Post a Comment